Atlas - MongoDB in the Cloud
The Blueprint
Section titled “The Blueprint”We could be installing a MongoDB server on our machines, but that’s the old-school way of doing things.
Let’s provision a FREE managed cluster in the cloud using MongoDB Atlas.
Phase 1: Account Creation
Section titled “Phase 1: Account Creation”- Navigate to the MongoDB Atlas Registration Page.
- Sign up. (Use an email address you have access to long-term).
- Verify your email. You can’t enter the facility without verified ID.
Phase 2: Building the Cluster
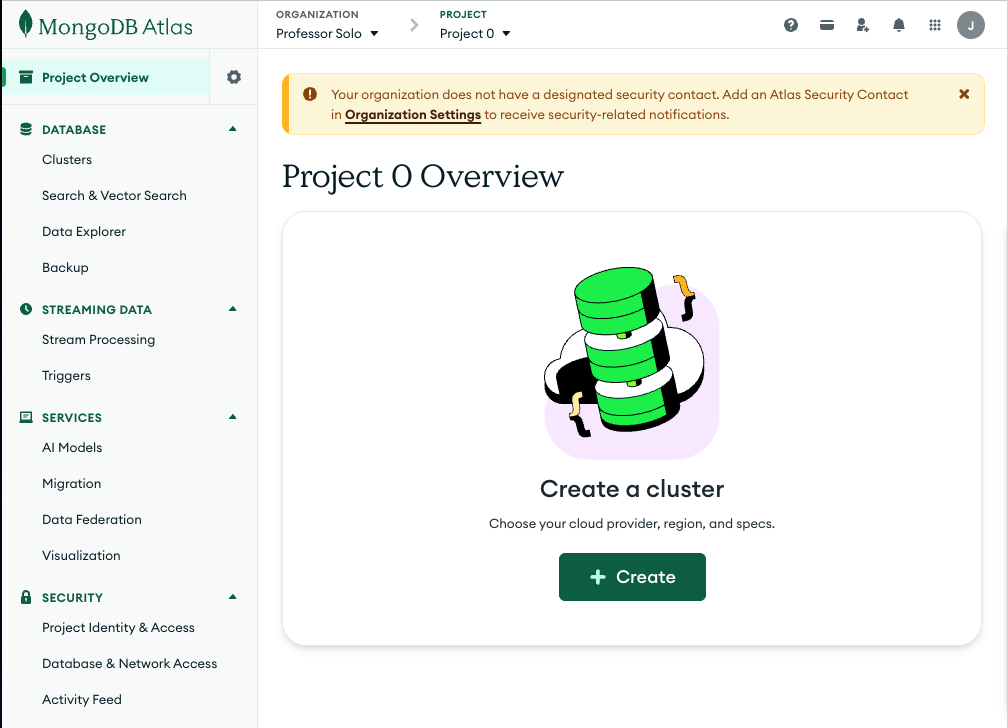
Section titled “Phase 2: Building the Cluster”Once logged in, you’ll be dropped into a “Project.” Think of a Project as a job site.
- Click Create a Cluster.
- Select Free (The FREE option - formerly labeled M0 / Sandbox).
- Do not select Flex or M10 unless you want to burn money.
- Cluster Name:
- Default is
Cluster0. We can rename it toNode2Know-Vaultif we’re feeling fancy, butCluster0is fine.
- Default is
- Cloud Provider & Region:
- Pick AWS.
- Pick the region closest to us - e.g.,
Oregon (us-west-2).- Latency matters. Don’t build the vault on the moon.
-
- Keep both the sample data and security setup checkboxes checked.
- Click Create Deployment
Professor Solo says
Be patient: It will take 3-5 minutes for the cluster to be provisioned.
We can continue with the next steps while we wait.
Visual Verification
Section titled “Visual Verification”We should now see a Set up connection security modal.
It will look something like this:
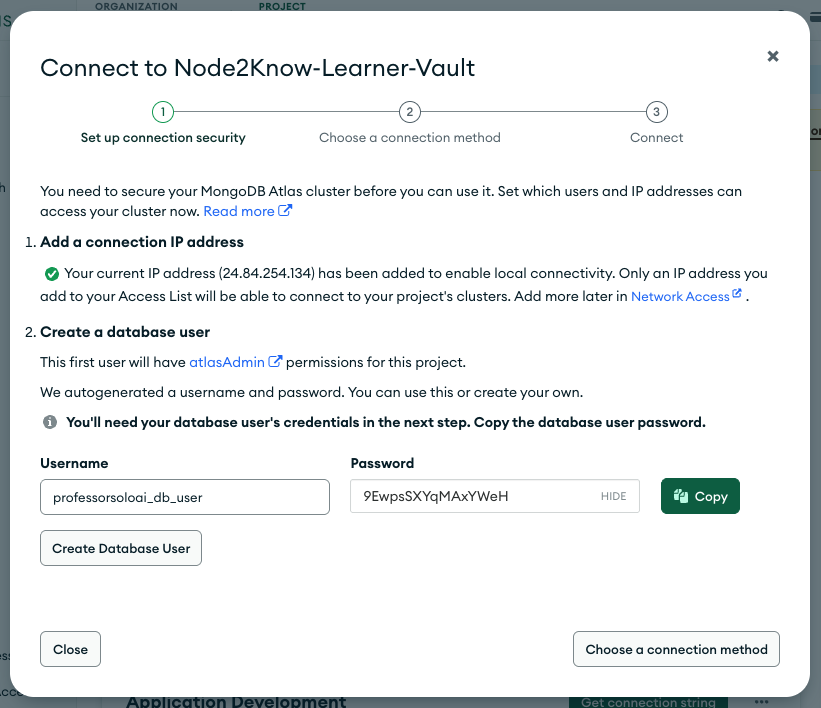
Fig 1: MongoDB Atlas Set up connection security modal.
Hang tight, we’ll deal with the security settings in the next step.
DO NOT click the Choose a Connection Method button yet!
⏭ Security Protocols
Section titled “⏭ Security Protocols”Creating the keys to the kingdom (Database Users) and opening the blast doors (Network Access).